How to Create the Ultimate Cheese Board: Tips, Tools, and Presentation Ideas
A well-crafted cheese board can elevate any gathering, whether it's a cozy night in or a festive celebration. With a balance of flavors, textures, and eye-catching presentation, a cheese board not only satisfies taste buds but also serves as a stunning centerpiece. If you want to impress your guests and take your entertaining game to the next level, here’s how to create the ultimate cheese board with expert tips, essential tools, and creative presentation ideas.
1. Start with a Variety of Cheeses
The foundation of any great cheese board is, of course, the cheese itself. To create a balanced experience, aim for a variety of flavors and textures. Here’s a simple formula to guide you:
- Soft Cheese: Brie, Camembert, or goat cheese offer a creamy texture that contrasts well with harder varieties.
- Semi-Hard Cheese: Gouda, Havarti, or Gruyère provide a smooth but slightly firm bite.
- Hard Cheese: Aged Cheddar, Parmesan, or Manchego bring a nutty, sharp flavor to the board.
- Blue Cheese: For bold flavor lovers, include Roquefort or Gorgonzola. It adds an earthy, tangy element.
- Flavored or Specialty Cheeses: Add a unique twist with herb-infused, smoked, or truffle cheeses.
Tip: Include at least 3-5 different cheeses, and ensure you have a range of milk types (cow, goat, sheep) for added variety.
2. Select Complementary Accompaniments
The best cheese boards include more than just cheese. Adding accompaniments enhances the flavors and provides a more complete tasting experience. Here are some great options to include:
- Cured Meats: Prosciutto, salami, or chorizo pair beautifully with cheese and add savory depth.
- Fresh and Dried Fruits: Grapes, figs, apples, or dried apricots offer sweetness to balance the savory flavors.
- Nuts: Almonds, walnuts, or pistachios bring texture and a rich, nutty flavor.
- Jams and Honey: Fig jam, quince paste, or honey are perfect for drizzling over cheese to add a touch of sweetness.
- Pickles and Olives: For a briny, tangy contrast, include pickles, cornichons, or a variety of olives.
- Bread and Crackers: Offer a selection of crusty bread, breadsticks, or crackers in different shapes and flavors to accompany the cheese.
Tip: Vary the textures of your accompaniments—soft cheeses pair well with crunchy crackers, while firm cheeses shine with smoother bread.
3. Use the Right Tools
The proper tools make all the difference in serving and enjoying cheese. Equip yourself with these essentials:
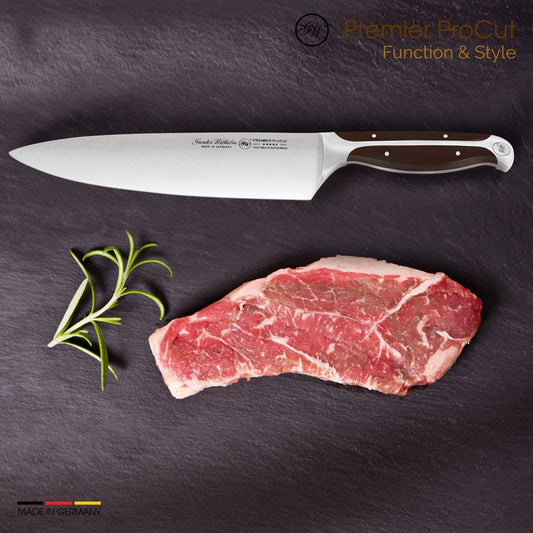
- Cheese Knives: A basic cheese knife set should include a soft cheese knife (for spreading), a hard cheese knife (for cutting through firm textures), and a knife with holes (to prevent sticking).
- Cheese Markers: If you're serving a variety of cheeses, cheese markers help your guests identify each type without asking.
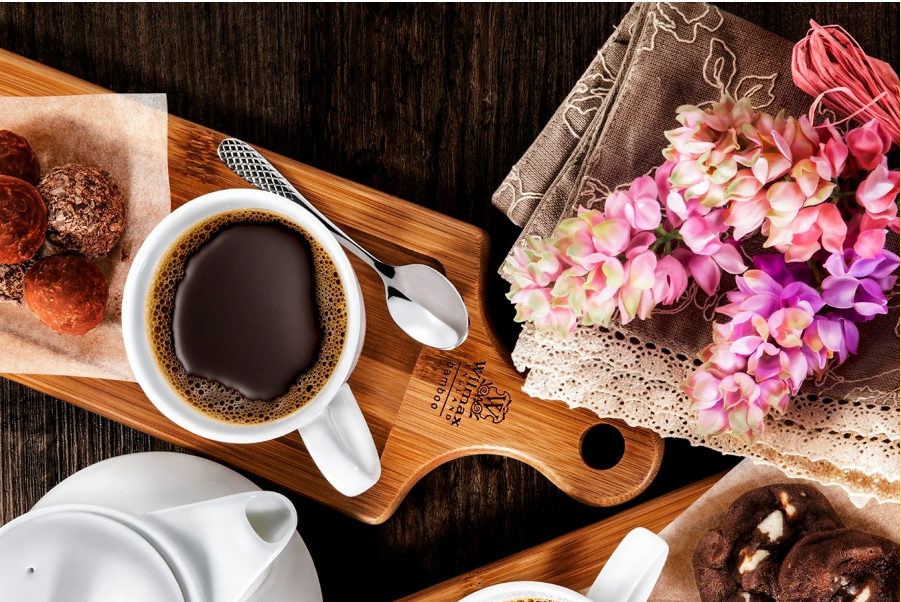
- Serving Platters: Opt for a large wooden or marble board that provides enough space for arranging the cheese and accompaniments attractively. Marble boards are particularly good at keeping soft cheeses cool.
- Tongs or Picks: For hygiene and ease, include small tongs or picks for items like fruits, meats, or olives.
Tip: Invest in quality cheese knives and boards—they not only look great but also make slicing and serving easier.
4. Master the Presentation
Presentation is key to an impressive cheese board. A thoughtfully arranged board looks inviting and encourages guests to sample a variety of offerings. Here’s how to create visual appeal:
- Arrange by Texture: Start by placing the cheeses in different sections of the board based on their firmness. This makes it easier for guests to navigate the board. Place soft cheeses closer to the center and hard cheeses along the edges.
- Create Variety in Heights: Use small bowls or ramekins for olives, nuts, or jams to add height and dimension to your board.
- Layer Your Accompaniments: Scatter fruits, nuts, and meats around the cheeses in small clusters. Layering these elements creates a natural, overflowing look.
- Balance Colors: Incorporate a range of colors by using vibrant fruits, deep-colored jams, and earthy tones of nuts and meats. This makes the board visually striking.
- Don’t Overcrowd: While you want the board to look full, avoid overcrowding it. Leave enough space for guests to slice and pick up cheeses easily.
Tip: Add small decorative touches like fresh herbs or edible flowers for an extra touch of elegance.
5. Serve at the Right Temperature
Cheese tastes best when served at room temperature. To allow the flavors and textures to develop fully, remove the cheeses from the fridge at least 30-45 minutes before serving. This also makes the cheese easier to slice and serve.
Tip: For soft cheeses, only take them out of the fridge 20 minutes before serving, as they can become too soft if left out too long.
6. Pair with Drinks
A great cheese board isn’t complete without the right beverages. Offer your guests a selection of wines, beers, or cocktails that pair well with your cheese choices.
- Wine Pairing: White wines like Sauvignon Blanc or Chardonnay complement soft cheeses, while red wines like Cabernet Sauvignon or Pinot Noir work well with hard cheeses.
- Beer Pairing: A light lager pairs well with mild cheeses, while a stout or porter is perfect for rich, creamy cheeses.
- Cocktail Pairing: Sparkling cocktails or a classic gin and tonic bring a refreshing balance to the richness of the cheese.
Tip: If you're unsure, champagne or sparkling wine is a safe bet that pairs well with a wide range of cheeses.
Conclusion
Creating the ultimate cheese board is both an art and a science. By selecting a variety of cheeses, pairing them with complementary accompaniments, using the right tools, and mastering presentation, you can create a cheese board that not only tastes incredible but also looks stunning. Whether you're hosting a small gathering or a large party, these tips and ideas will help you impress your guests and make any occasion special.
Share:

