The Art of Plating: How to Make Your Meals Look Instagram-Worthy

In today’s digital age, food isn’t just about taste—presentation matters more than ever, especially if you want your meals to stand out on Instagram. Mastering the art of plating can elevate even the simplest dish into a stunning visual experience. If you’ve ever wondered how chefs and influencers make their meals look so good, here’s your guide to making your plates Instagram-worthy.
1. Choose the Right Plate
The first step to beautiful plating is selecting the right plate. The plate serves as the canvas for your food, and its size, shape, and color all play a role in the final presentation.
- White Plates: A classic white plate creates a clean, neutral backdrop that makes food pop, especially vibrant colors like greens, reds, and yellows.
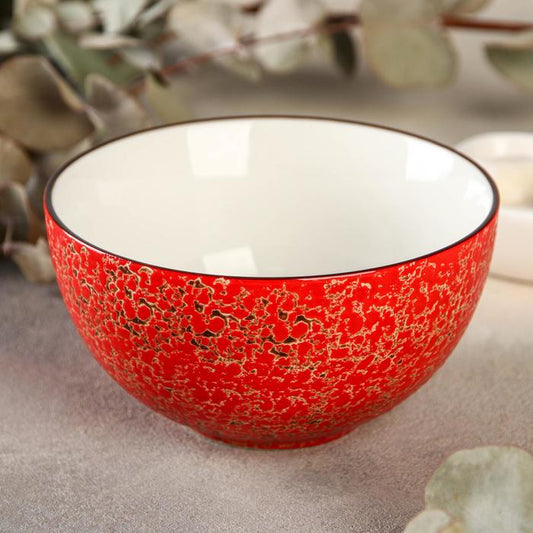
- Unique Shapes: Try square, oval, or asymmetrical plates for a modern and artistic presentation. Unconventional shapes can add interest and draw attention to your dish.
- Plate Size: Avoid overcrowding the plate. Choose a plate that is large enough to give each element of your dish space to breathe, creating a sense of balance.
2. Play with Color and Contrast
Color is one of the most important factors in making a dish visually appealing. A vibrant, colorful dish naturally draws the eye and makes people want to dive in.
- Contrast Colors: Pair foods with contrasting colors, like green vegetables with bright yellow squash or purple beets with white cheeses. The contrast will make the dish more eye-catching.
- Natural Color Variety: Use ingredients with a range of natural colors—like rainbow carrots, heirloom tomatoes, or colorful peppers—to add visual appeal without any artificial elements.
- Garnishes: Fresh herbs like parsley, cilantro, or basil not only add flavor but also provide a pop of color. Edible flowers can also add a whimsical, elegant touch to any plate.
3. Use Height and Layers
Incorporating height into your plating creates a sense of dimension and gives the dish a more professional appearance.
- Stacking: Layer your ingredients by stacking proteins, vegetables, and sides. For example, place a piece of salmon over a bed of greens, with a drizzle of sauce around the plate.
- Tilt and Lean: Instead of laying all ingredients flat on the plate, lean vegetables or proteins against each other to add a dynamic, sculptural effect.
- Sauce Swipe or Drizzle: Instead of dumping sauce over the dish, use a spoon or a squeeze bottle to artistically swipe or drizzle the sauce on the plate for a polished look.
4. Texture Matters
Mixing textures adds visual interest and makes the dish more enticing. Combining crunchy, creamy, and crispy elements not only improves the taste but also makes the presentation more dynamic.
- Crisp Elements: Sprinkle crunchy toppings like toasted nuts, seeds, or croutons for texture contrast.
- Smooth and Creamy: Add smooth elements like pureed vegetables or creamy sauces, but use them sparingly for balance.
- Delicate Garnishes: Thinly sliced radishes, microgreens, or edible flowers can add a soft, delicate touch to balance bolder textures.
5. The Rule of Odds
When arranging components on a plate, odd numbers tend to be more visually appealing than even numbers. For example, instead of placing two pieces of shrimp, use three or five. The rule of odds creates a more dynamic and interesting plate that feels less structured.
6. Keep it Clean
No matter how beautifully you plate your dish, messy edges or sauce splatters can ruin the presentation. Keep a clean cloth or paper towel nearby to wipe the plate's edges before serving or photographing the dish.
- Clean Lines: After plating, take a moment to check that everything is neatly arranged, and there are no smudges or drips around the rim of the plate.
- Minimalism: Less is often more when it comes to plating. Avoid overcrowding the plate and focus on highlighting a few key ingredients. A minimal, well-composed plate can have a stronger impact than one filled with too many elements.
7. Lighting is Key
When photographing your beautifully plated dish for Instagram, lighting can make or break the shot.
- Natural Light: The best lighting for food photography is soft, natural light. Try to take your photo near a window with plenty of daylight, but avoid direct sunlight that creates harsh shadows.
- Use Reflectors: If the lighting is uneven, use a white napkin or piece of paper to reflect light onto the darker side of the plate, creating a balanced, well-lit photo.
- Angle Matters: Experiment with different angles, such as overhead shots to show off the entire plate or close-ups to capture textures and details. Sometimes a 45-degree angle works best to capture height and layers.
Final Thoughts
The art of plating isn’t just about making food look good; it’s about enhancing the overall dining experience. By paying attention to color, texture, balance, and composition, you can turn any dish into a work of art that’s ready for Instagram. With practice, these techniques will become second nature, and your meals will not only taste delicious but look stunning as well. So, next time you’re plating a meal, take a little extra time to make it look picture-perfect!
Share:

